Tips for using colour effectively in web illustration
Our websites can offer us an important advantage when it comes to choosing colour for illustration—constraint.
Finding and settling on a way to use colour within your illustrations is a fun challenge. Once you do, it becomes much easier going forward to make them. In this post, I’ll share the things I have found worked for me.
Choosing your colour palette
The first thing to cover is choosing your palette. There are two approaches: you have an existing colour palette or you’re beginning a redesign in which you have more freedom.
Use your existing colour palette
If you have colours already determined for your website, why not use those as a starting point? Things will immediately feel more at home.
Choose for your website first

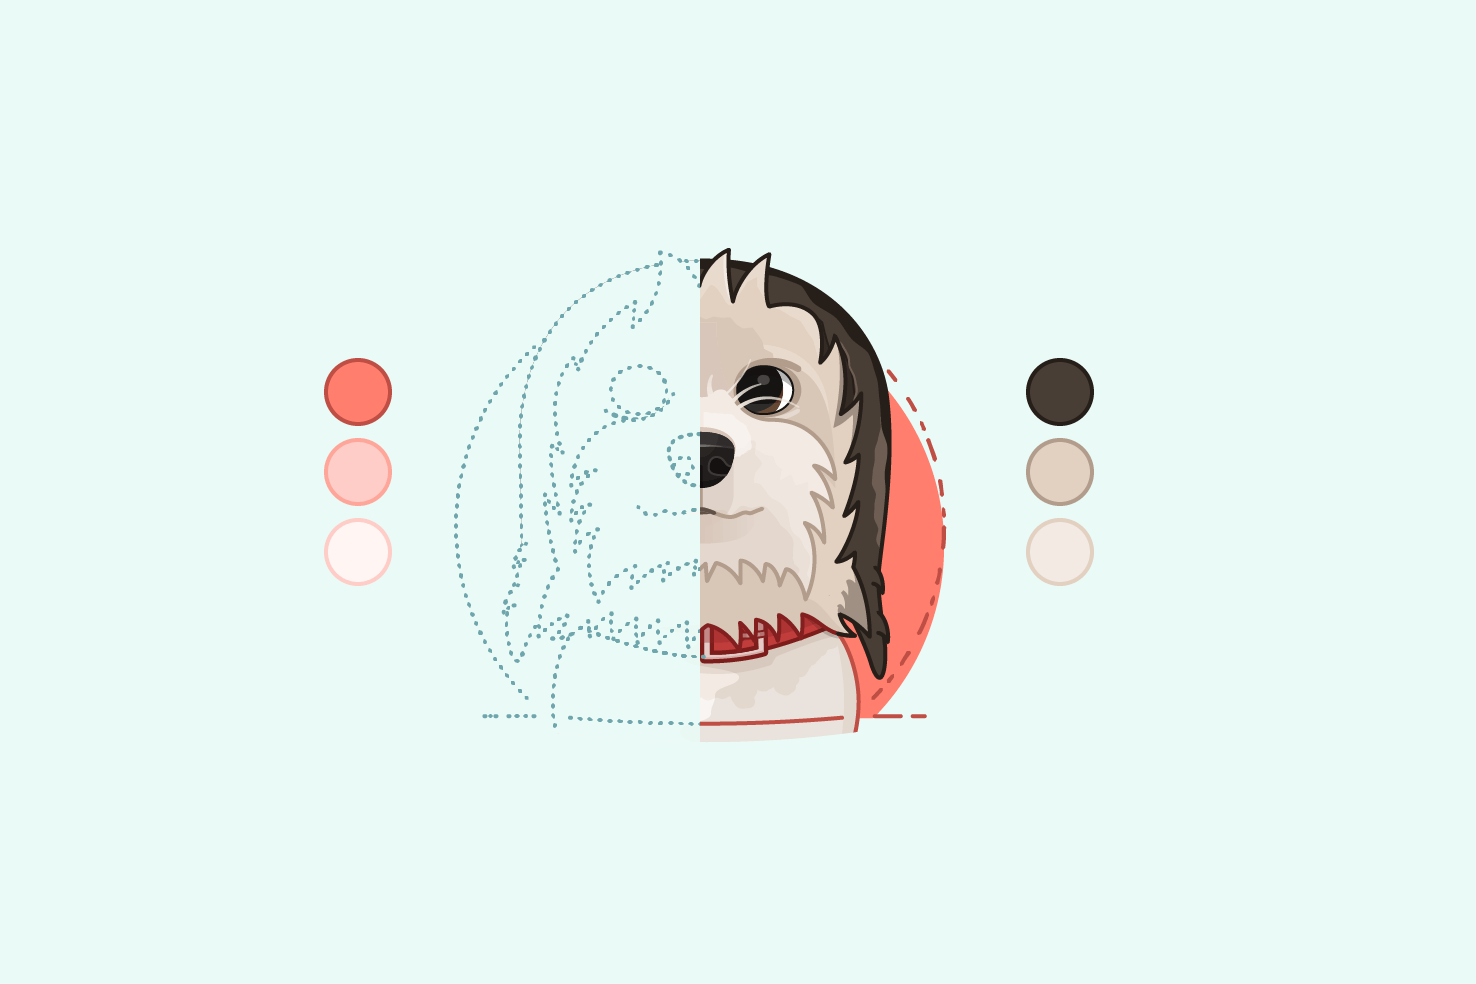
A website colour palette will be made up of some neutral and some vibrant (or differing) colours, for the various uses throughout a website. These colours will offer a lot of choice for your illustrations too.
So, if you’re struggling initially, this is a good way to spark inspiration and find any gaps you may have in your selection.
Let the choices be determined by the type of illustration
For example, is your illustration more of a scene or character? The differing use case can determine the range of colours you will need.

A scenic illustration will need some neutral colours—with varying shades and tones. These are useful for adding detail to the background, so it doesn’t feel overwhelming. If you were to use vibrant and varied colour it would distract from the subject of the illustration.
Your vibrant colours should be used to draw the eye to the main subject of the illustration.

With a character based illustration, you’re going to need colour for smaller areas like eyes, variety for skin tones, and not have to worry as much about the issues of a larger scene.
Use the colours & refine during use
I don’t think I’ve ever picked a colour palette and it’s right from the off. I can pick a set of colours which are reasonably close, but I tend to find things need tweaking.
Don’t try to add every colour you will need
If you already have a palette determined, use those colours as far as they will go. Use those colours in different ways and see how they combine.
This way you’ll keep your colour palette limited and potentially find creative combinations that you wouldn’t have without the restriction. Then, if you absolutely need to, you can add additional colours.
Using your colour palette
Using your palette consistently is one of the most challenging things.
Think about the context and use
I covered this to an extent earlier, but use case is important. If your illustration is the main feature, for example a large hero image, you have more freedom in the amount of colour you can use. Whereas if it’s a list of blog posts with individual featured images, you will be better served by keeping the colour restricted further.
Don’t overwhelm small areas with lots of colour
The balance of colour on the page is important, if many small images, have many colours, it’s going to feel busy and overwhelming.

I have found using one or two stronger colours to be a good balance. Making use of neutral complementary tones for everything else. The aim is to bring focus to the main objects and again think of the surrounding areas.
When shading and highlighting
A successful set of illustrations feel harmonious together. Much of this is achieved through consistent stroke styles, highlights and shading.
Make a range of tints
This is a step to save you time and help with consistency. Each colour you have make lighter versions of it. You want a reasonably wide variety of them, with plenty of the lightest of colours as the change in lightness is more apparent.
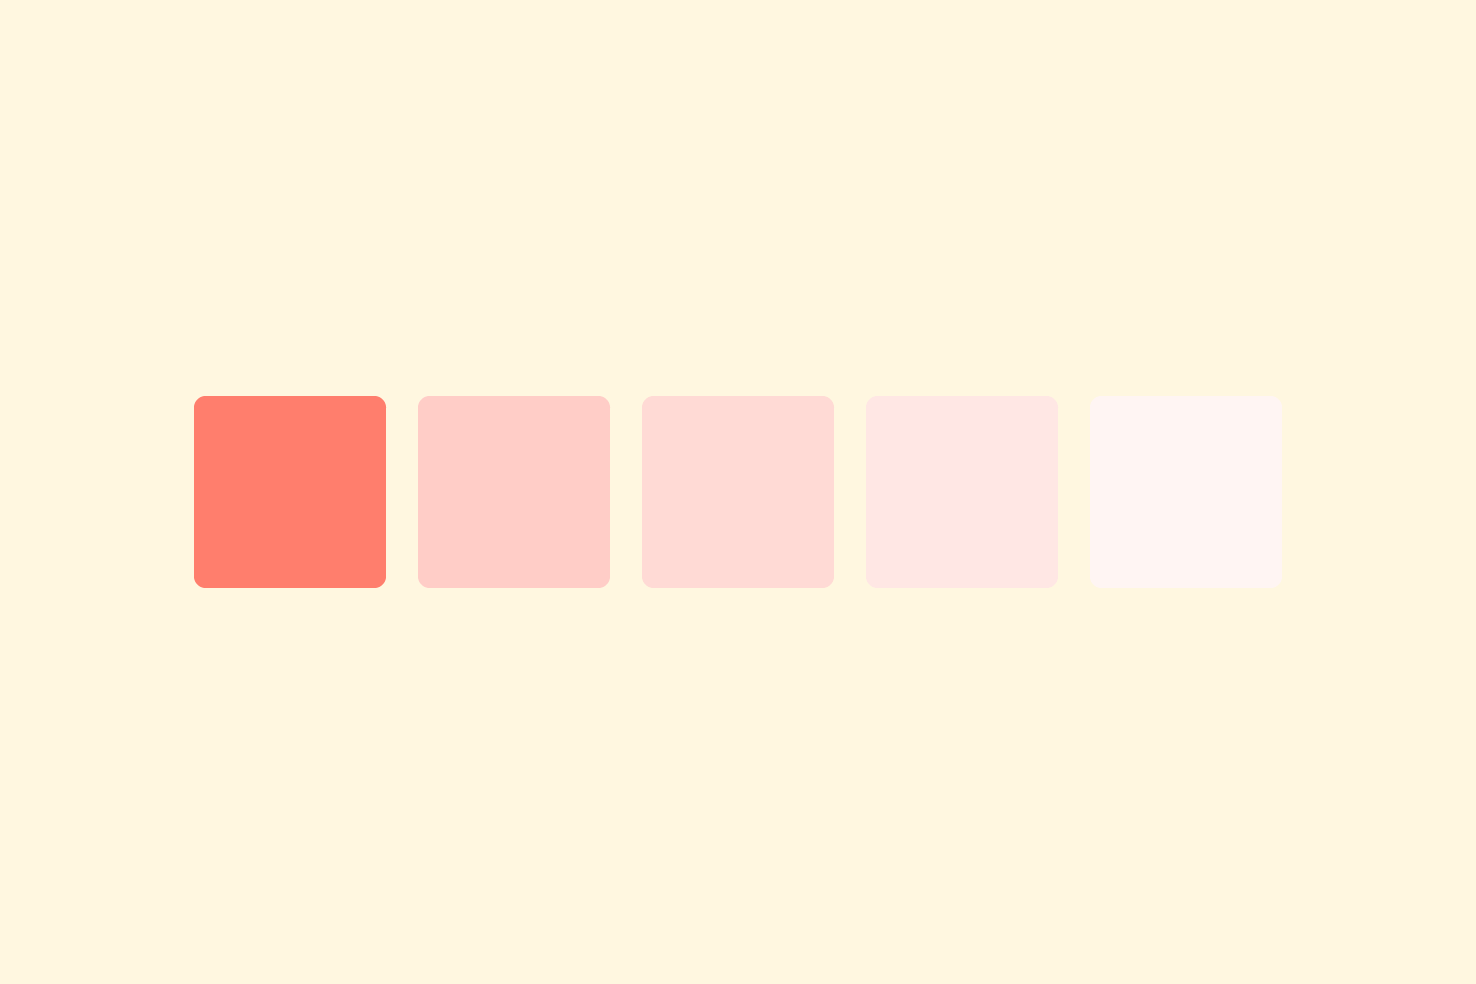
For example, you may increase the lightness by 20%–30% for the first few tints. Then decrease that to 5%, at the very lightest colours it becomes more obvious the difference.
Make fewer tones and shades
It’s much easier to get by on fewer tones and shades. As well, you don’t really want a huge variety in saturation or how dark these colours are.
You’ll use these if you intend to have outlines as part of your illustration. I recommend two darker colours for borders, one that’s a higher saturation and one that’s a lower saturation. There are different instances where the warmer and cooler colours will be a better fit.

The good thing with using one shade/tone for outline colour is when you apply a shadow you can reduce the opacity and the stroke is unaffected by the colour. Whereas, if you apply it to a highlight you’ve created a new colour, which more often than not doesn’t look ideal.
Use a darker saturated colour for shadows
When you use black, or add black to a colour to make a shadow it can feel unnatural. The colour goes muddier. There are two techniques for handling this:
- Make the colour darker and increase the saturation
- Apply a black square over the colour with overlay/soft light blending mode then reduce opacity as needed
It makes a subtle but important difference, I’ve spoke about this before in a visual design tips post. So this is at least one crossover between illustration and web/UI design.
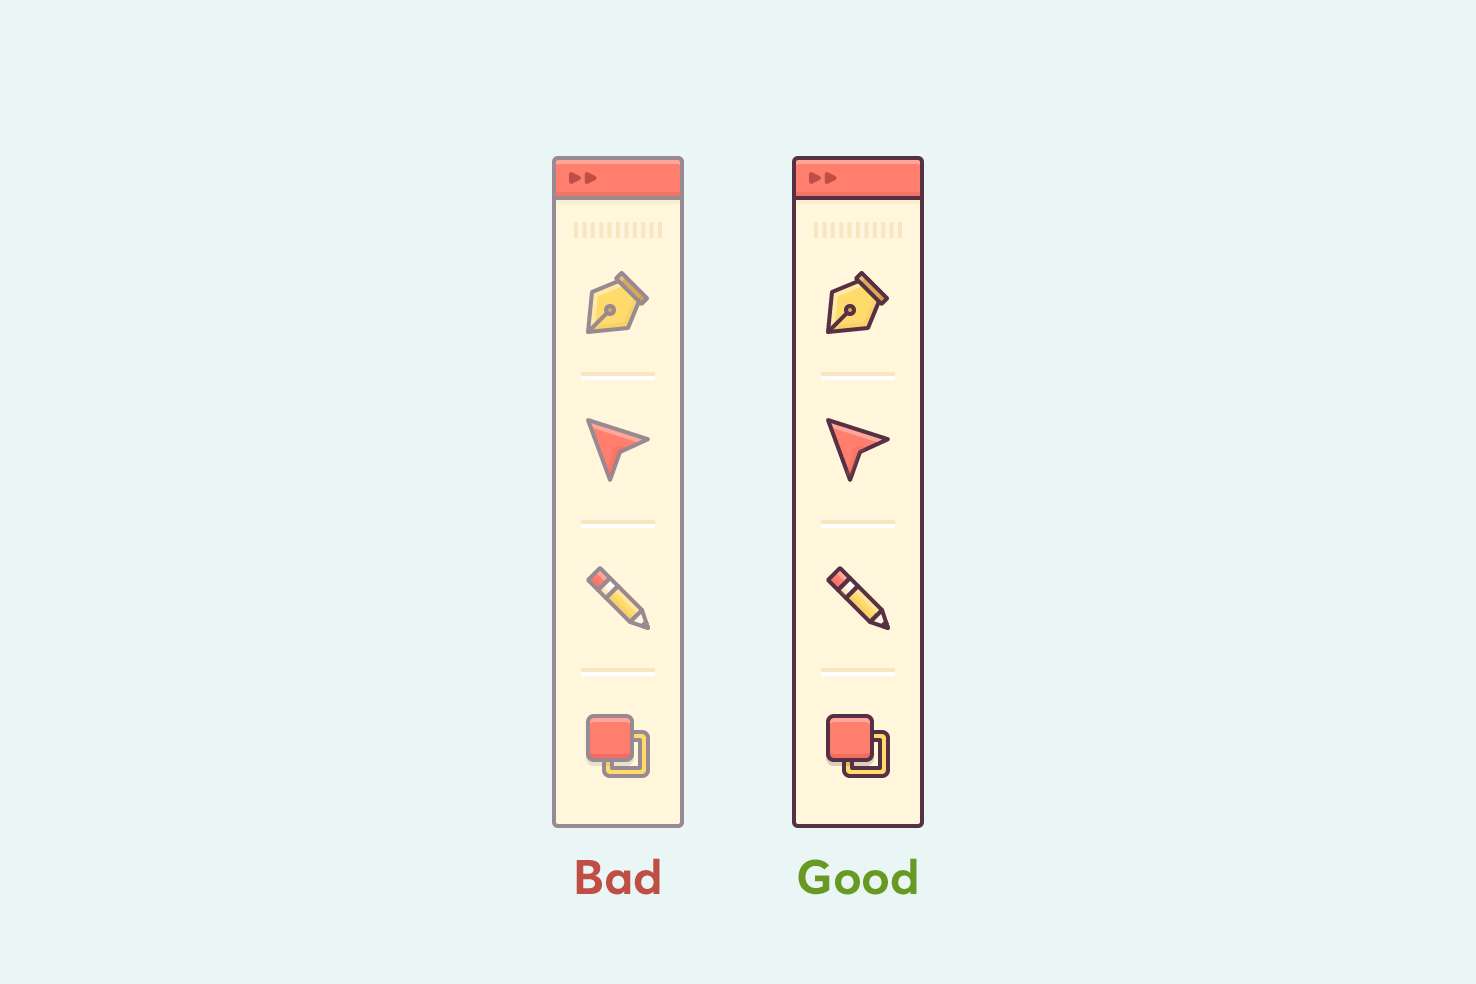
Make strokes a contrasting colour
This can depend on the style you’re going for but the correct stroke colour is important. Make sure it contrasts well, it’s better it’s darker than too light. A stroke which is too light can make things feel off.
This slightly exaggerated example, shows the difference a border with good contrast makes.
There are other techniques for approaching things like shadows and strokes, but this approach is easier to remember.
Watch out for colour clashes
Colour clashes is possibly the wrong word here. Anyway, for example, you have lighter colour with a dark border, next to another dark colour, this can cause an awkward look with the colours.
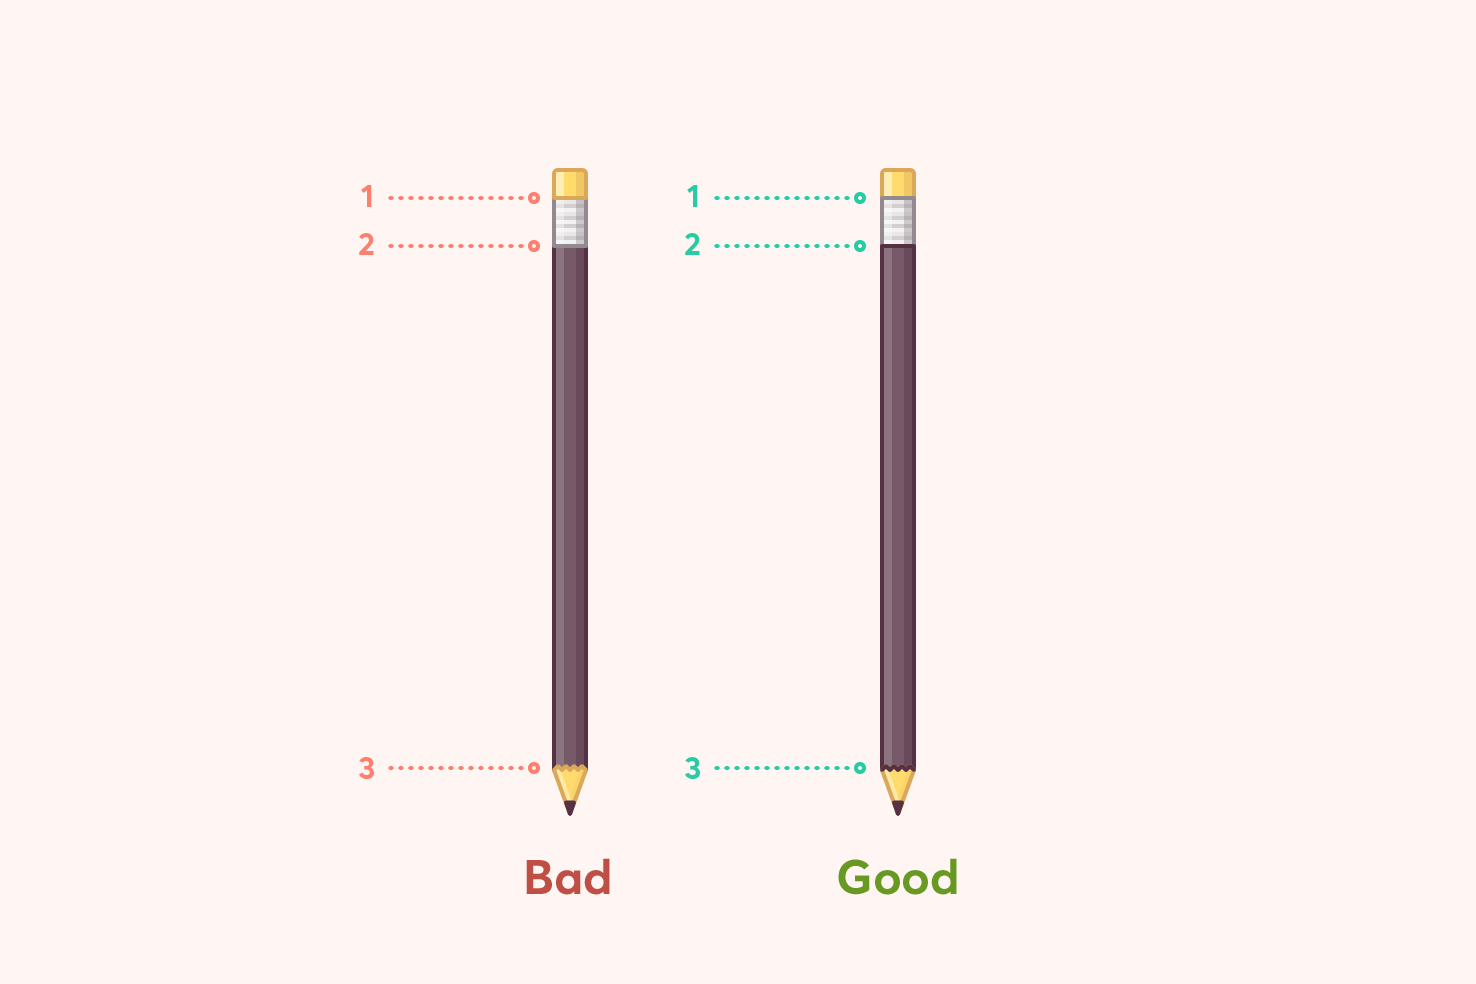
A simple fix can be to change the darkest stroke to be above the lighter stroke, as the image demonstrates.
Illustrator tips
Here’s a few things where the power and features of illustrator can really help you out.
Let Illustrator handle your tints, shades & tones
One thing I really love about Illustrator is the colour guide panel. It’s got a lot of power to help you quickly generate colour palettes with limited fuss. The amount of functionality it has is worth a post on its own, however, I’ll cover some things quickly.
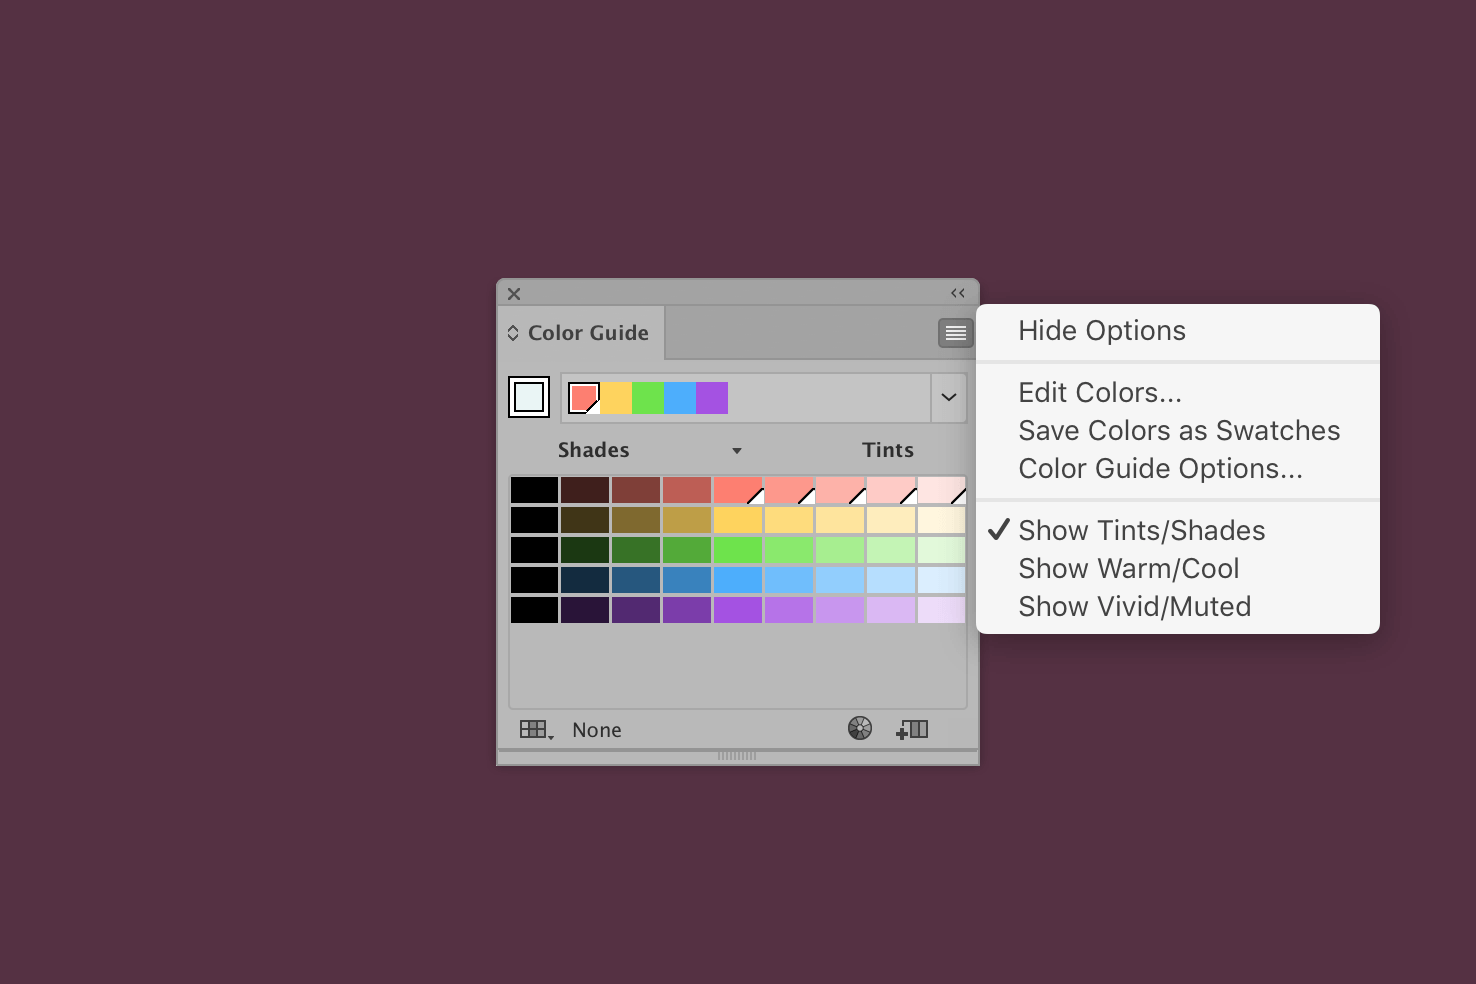
Go to Window > Colour Guide in the menu. From here you can choose which types of colours you’d like, from shades to the warmth of colour. You can change this by clicking the little icon to the top right of the panel.
You may also find the range of colours to be limited, by again clicking the little icon at the top right and going into the panel options you can expand the amount of colours you need. You can also add them to the swatches panel for ease of use.
Select same
In the menu you will find Select > Same, if you haven’t used this before, I’m certain you’ll be using it a lot in the future. From here you’ll be able to quickly select and change fills, strokes and so on with ease.
Refine or recolour with ‘Recolor Artwork’
The colour adjustment tools within Illustrator are really powerful, especially ‘Recolor Artwork’. If you’re close to the colour palette you want, but things don’t feel as harmonious as you would like, these tools can really help.

Select all of your colours and go to Edit > Edit Colors > Recolor Artwork. From here you can adjust each colour individually, and once you click ok it will update all the colours.
Under the same Edit > Edit Colors menu you can also find ‘Recolor with preset’, this is handy for reducing the amount of colour in an image or making it monochrome. You can get a totally different look and feel through this, it’s a useful tool otherwise meant for print related jobs.
Finishing thoughts
One of the things I try to put across a lot in my posts is things aren’t final. You’re entitled to change them later, especially with personal projects.
Iterating is important, once you become aware something isn’t working, don’t be afraid to put it to one side and start again. Even if this means you’ve put this work public, you can change it.
View on Github