Illustrator quick tip: non destructive shape editing
You may have two shapes and want to combine them, but still want to refine the overall shape or save it for later. This post shows you two options.
Making anything in Illustrator involves using the shape tools more often than not. You combine shapes, using the various methods with pathfinder. You may have two shapes and want to combine them, but still want to refine the overall shape. This post shows you two options.
There are two techniques
The first technique combines two shapes but allows them to appear like one. This is handy for manipulating a shape that is transparent or refining in general. The second is a quick way of doing a clipping mask. This is handy for creating highlights and shadows, not having to worry about the outer shapes.
Method one: non destructive pathfinder
Pathfinder is one of the handiest tools within Illustrator which by default will combine shapes removing all knowledge of the previous state.
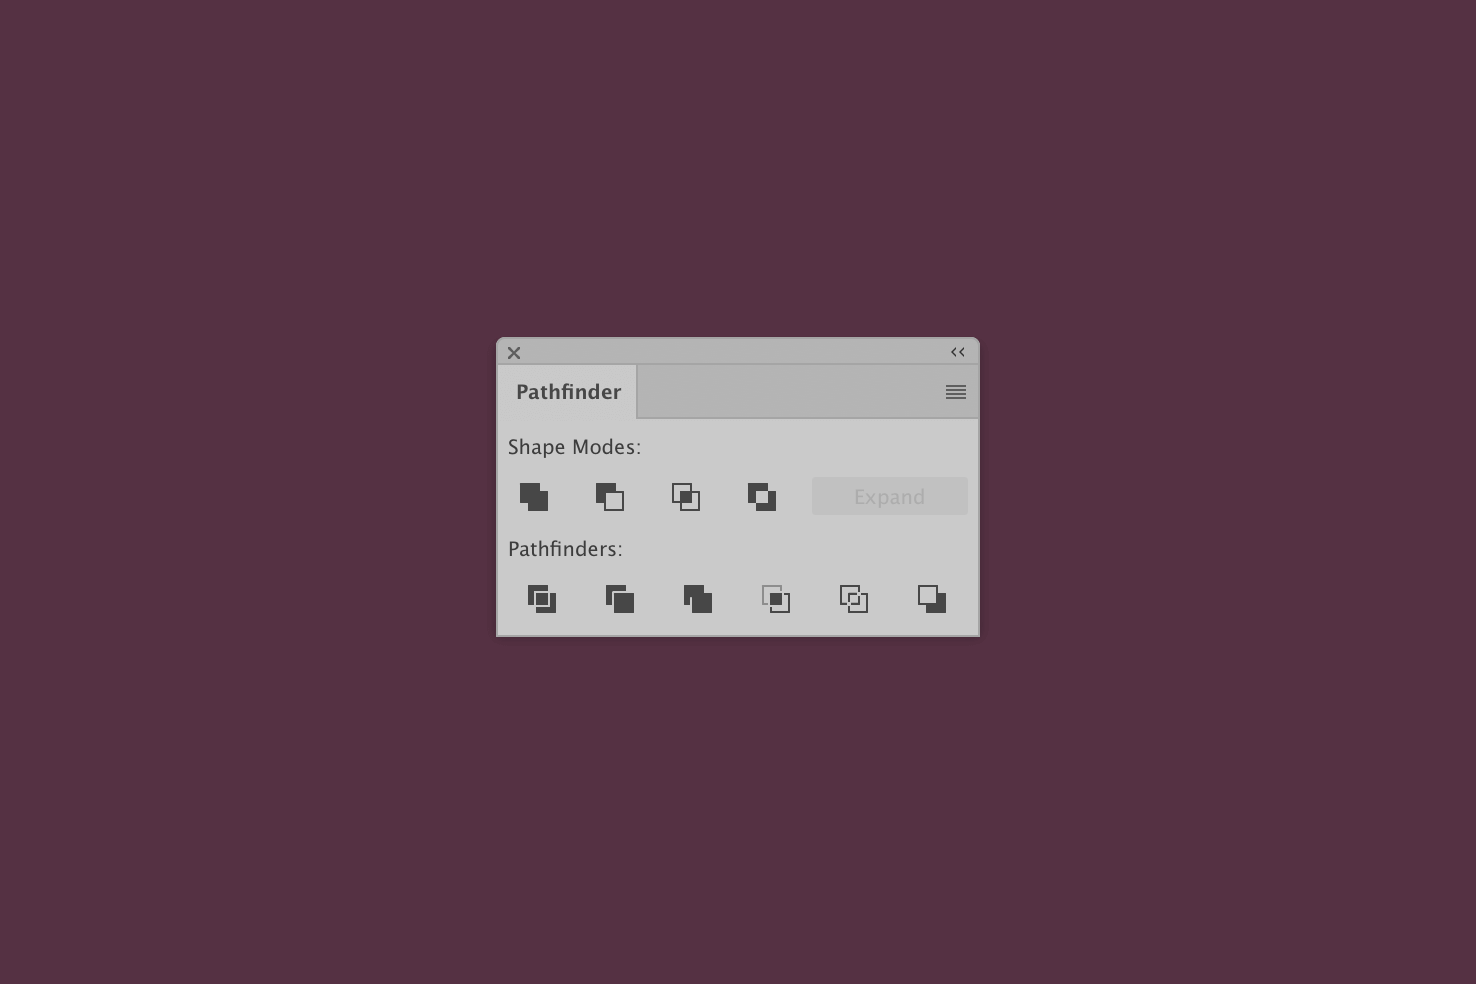
Open the pathfinder
You can do this by finding Window > Pathfinder.
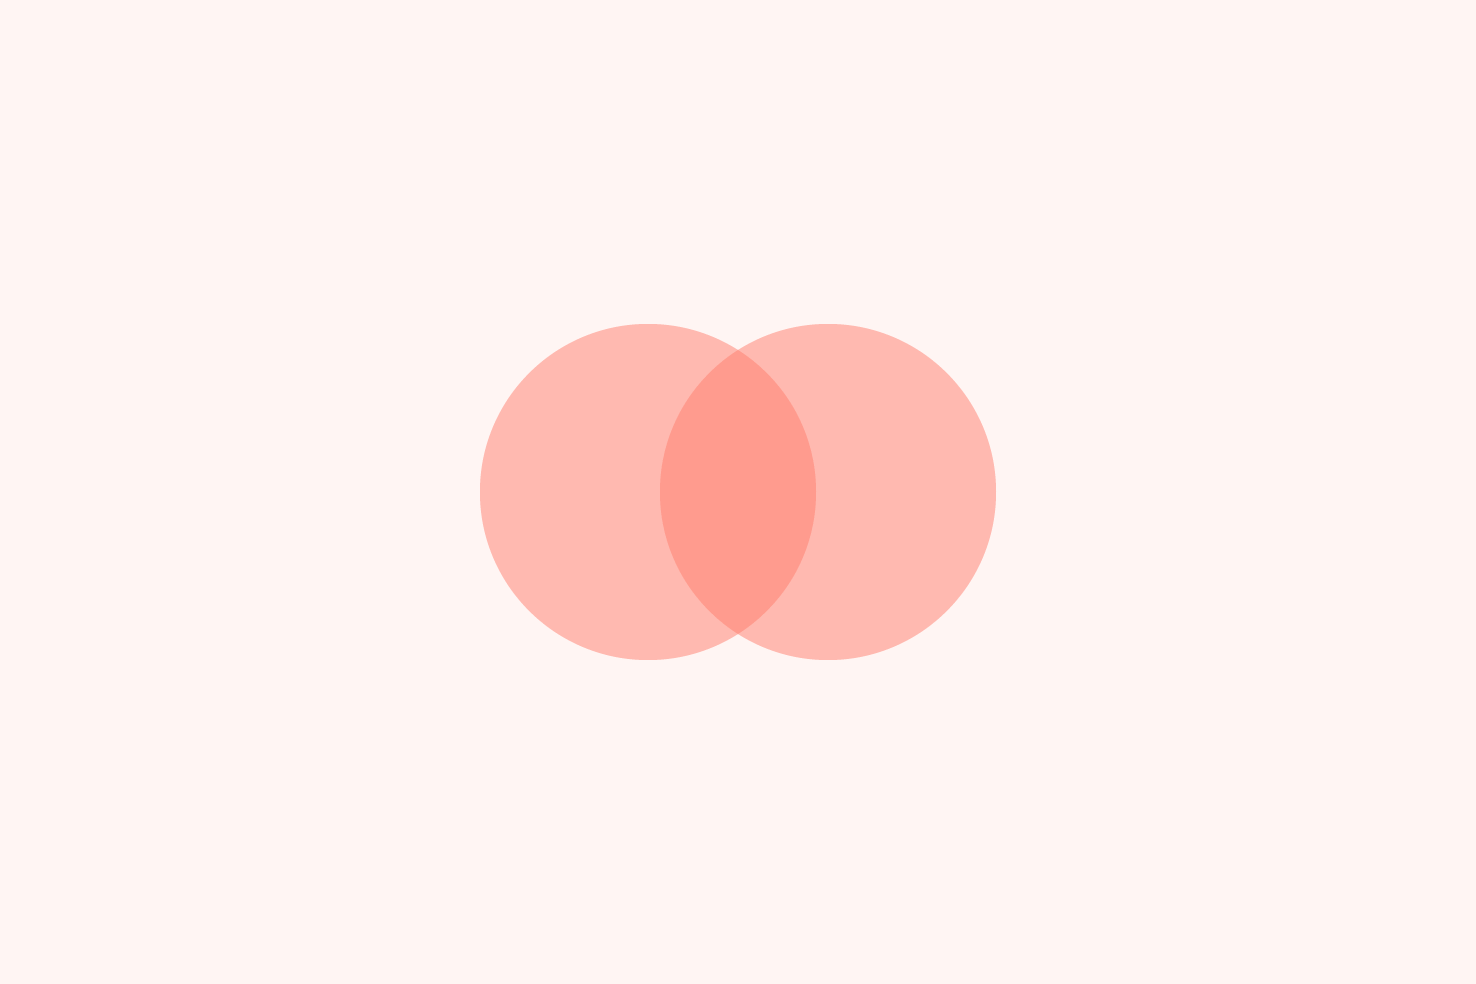
Draw your shapes
Next the best way to demonstrate this is to draw two shapes, overlap them and reduce their opacity.
Select your shapes and hold alt using a pathfinder option
The important part is to hold alt, it will combine both shapes without destroying their paths.
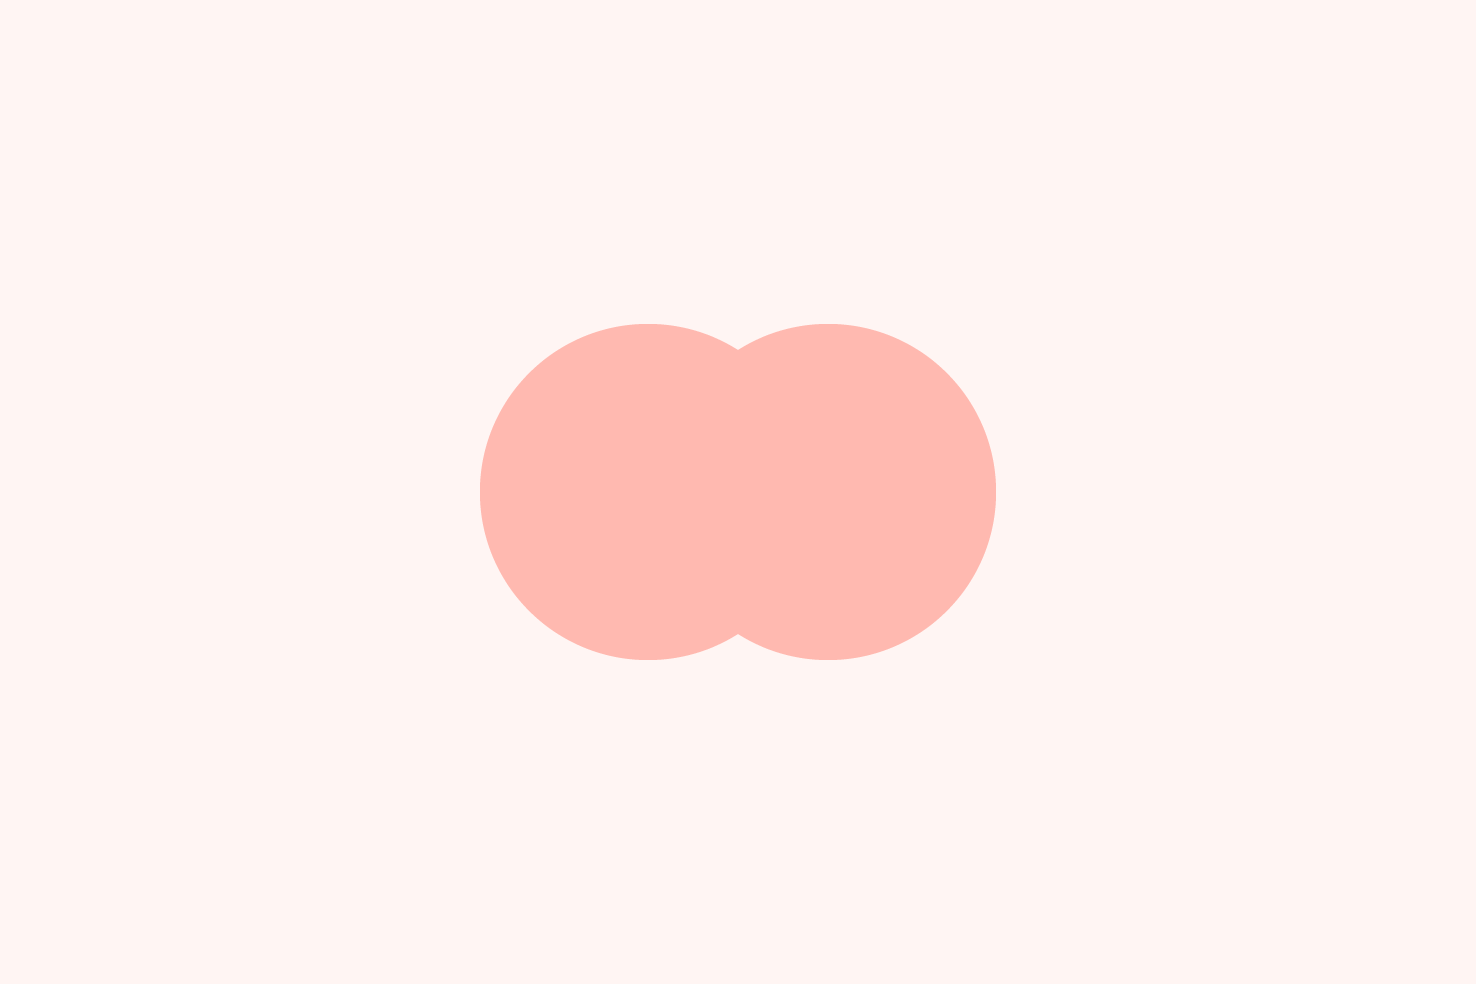
After making using the pathfinder on the shapes, you’re free to change them as you like.
Use the direct selection tool to edit further
To select a shape press a to use the direct selection tool. You can also double click to isolate them, which can be easier to change the shape.
Method two: choose a drawing mode
Choosing a different drawing mode allows three options: normal, inside and behind. For this example you need inside.
Select an object
To be able to change drawing mode you need to select an object, so it can be used as a mask.
Change to the inside drawing mode
With the drawing mode, generally you will want to choose inside. This is a quick way to create a clipping mask out of any shape. The benefit is you can draw multiple shapes inside another shape and not worry too much about the remainder.
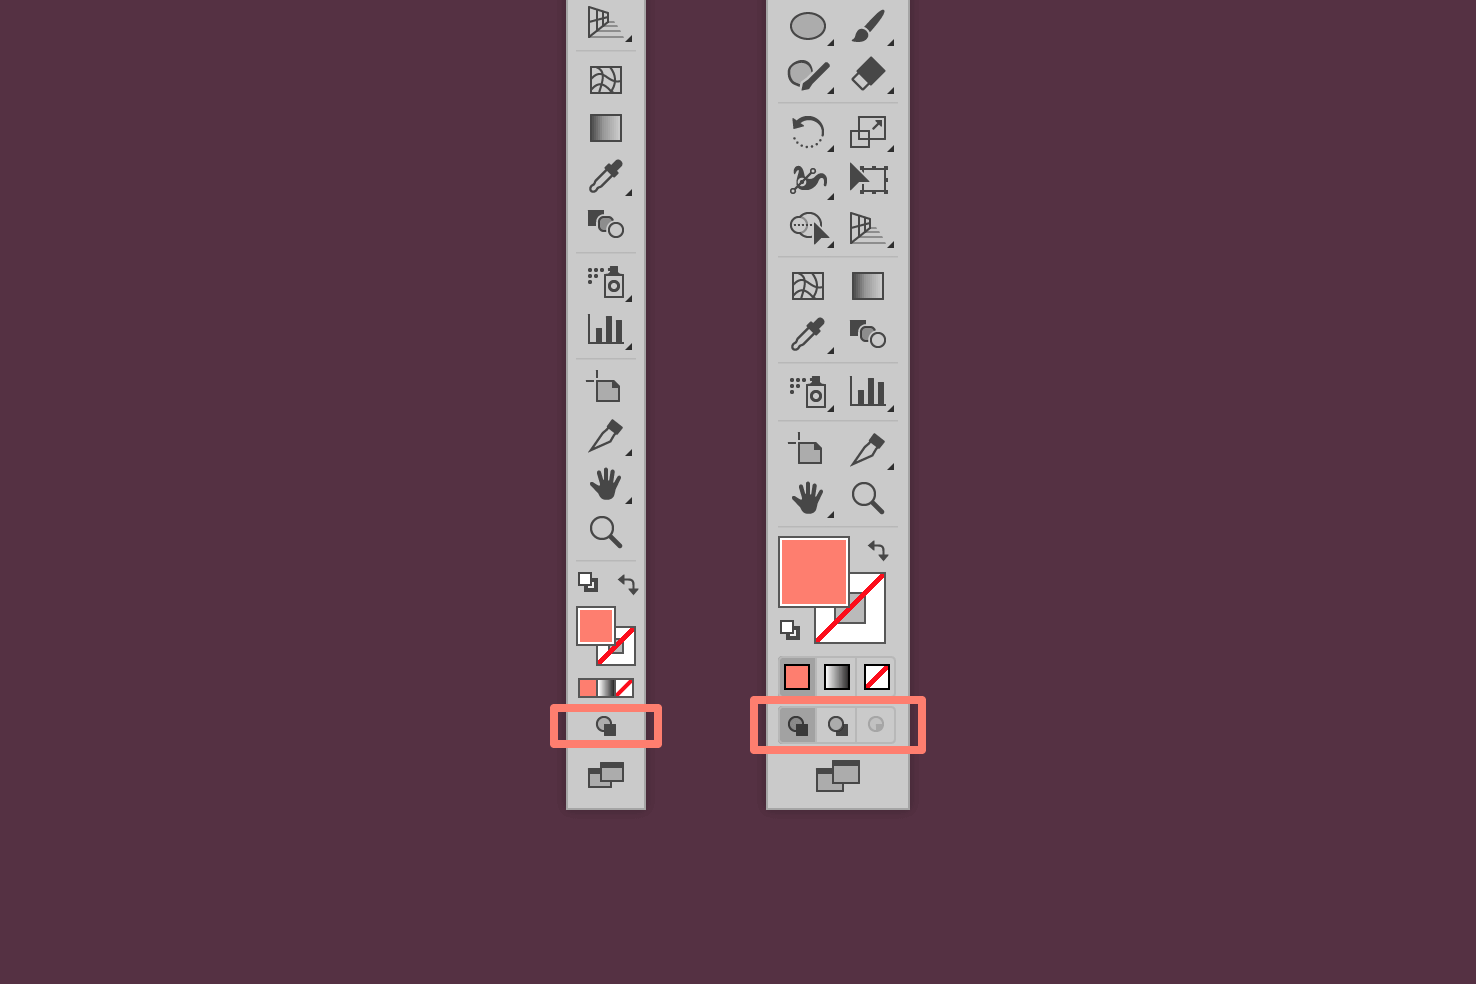
The icon can be found below the fill and stroke options in the toolbar.
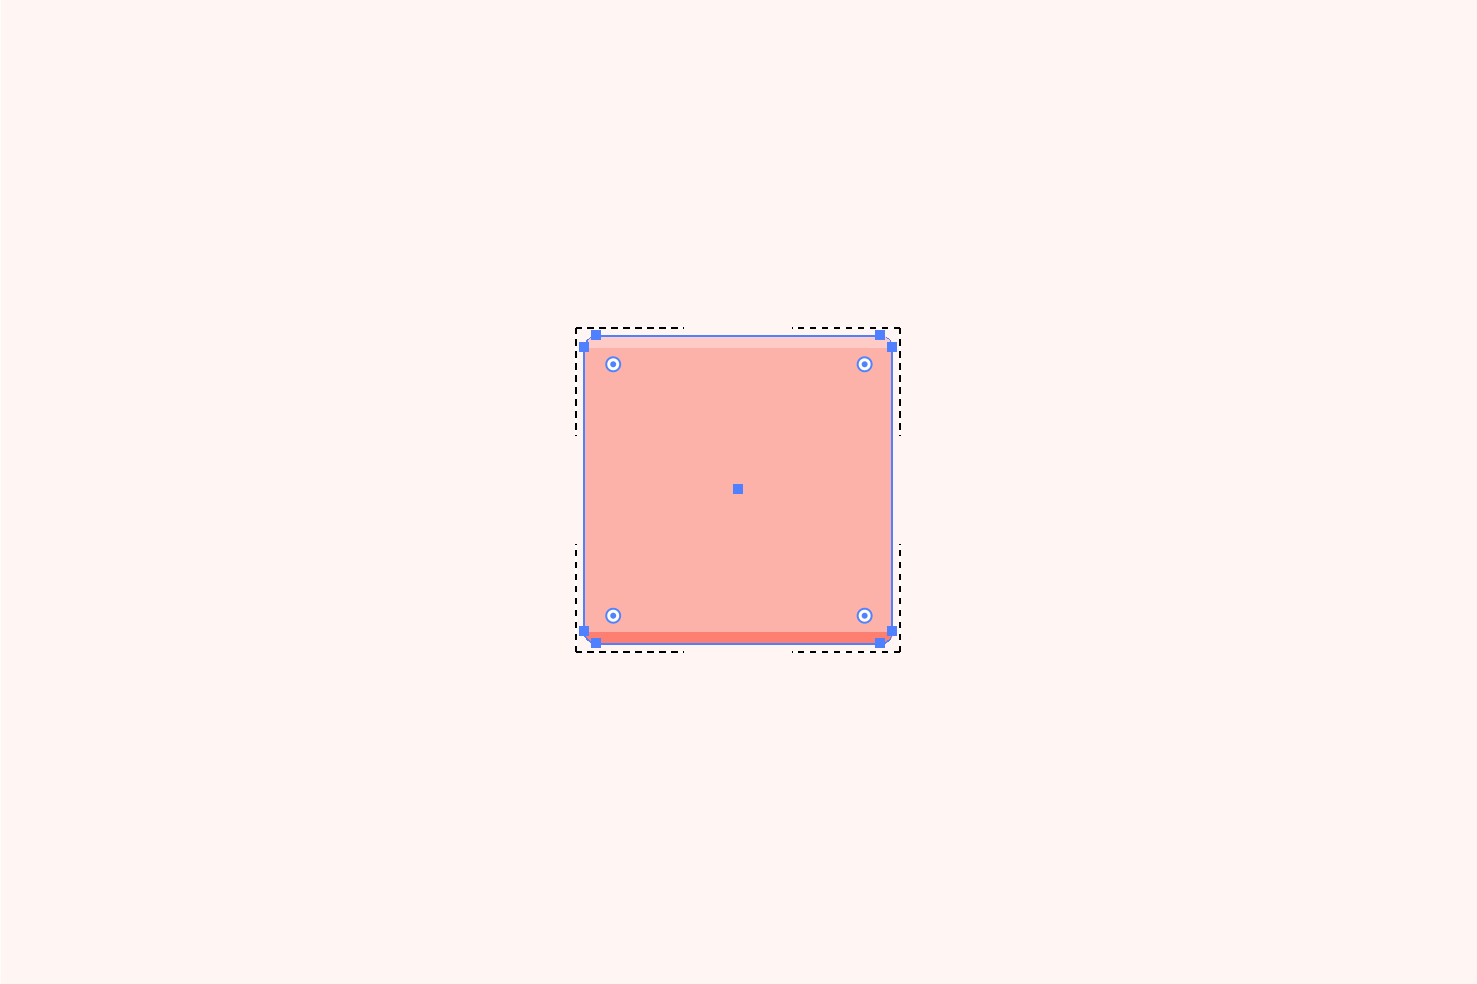
A dotted border should appear
This is how you know when a different drawing mode is active. You’re free to draw shapes anywhere, however, parts will not be visible outside of the mask.
To exit select normal drawing mode
Once you’re done with drawing inside you can select the normal drawing mode.
That’s everything
These are two methods which allow you to combine shapes non destructively. Are there any that have been missed? Let me know on twitter.
View on Github