Making patterns in Illustrator
Learn how to create, change and duplicate patterns as swatches.
— views

Patterns and textures were popular before flat design came along. As we seek the need for creativity in our designs things like patterns reemerge. This post shares what I’ve learnt and how to make your own. It’s a technique once you remember you’ll be able to make patterns with ease.
Your pattern can be anything
A pattern is something that is repetitive, a piece of an image that can repeat over and over. It can be anything, so long as it’s seamless.

So if you have a set of icons, or shapes you would like to repeat, it can work. In the example throughout this post I will be using several icons I have made.
More importantly, it has to work for your design, which depends on the look and feel you’re going for.
Initial setup
Start a new document, with a 600x600 artboard. This will ensure you don’t make a huge tile, but still allow for a good repetition.
Now you want to turn on snap to pixels, you can find this under View > Snap to Pixel. The idea is to try keep everything a whole pixel.
Gather your objects
Next, add each of the objects you want to be part of the pattern to the artboard.
Make sure you keep the originals. This will help later with duplicating and positioning.
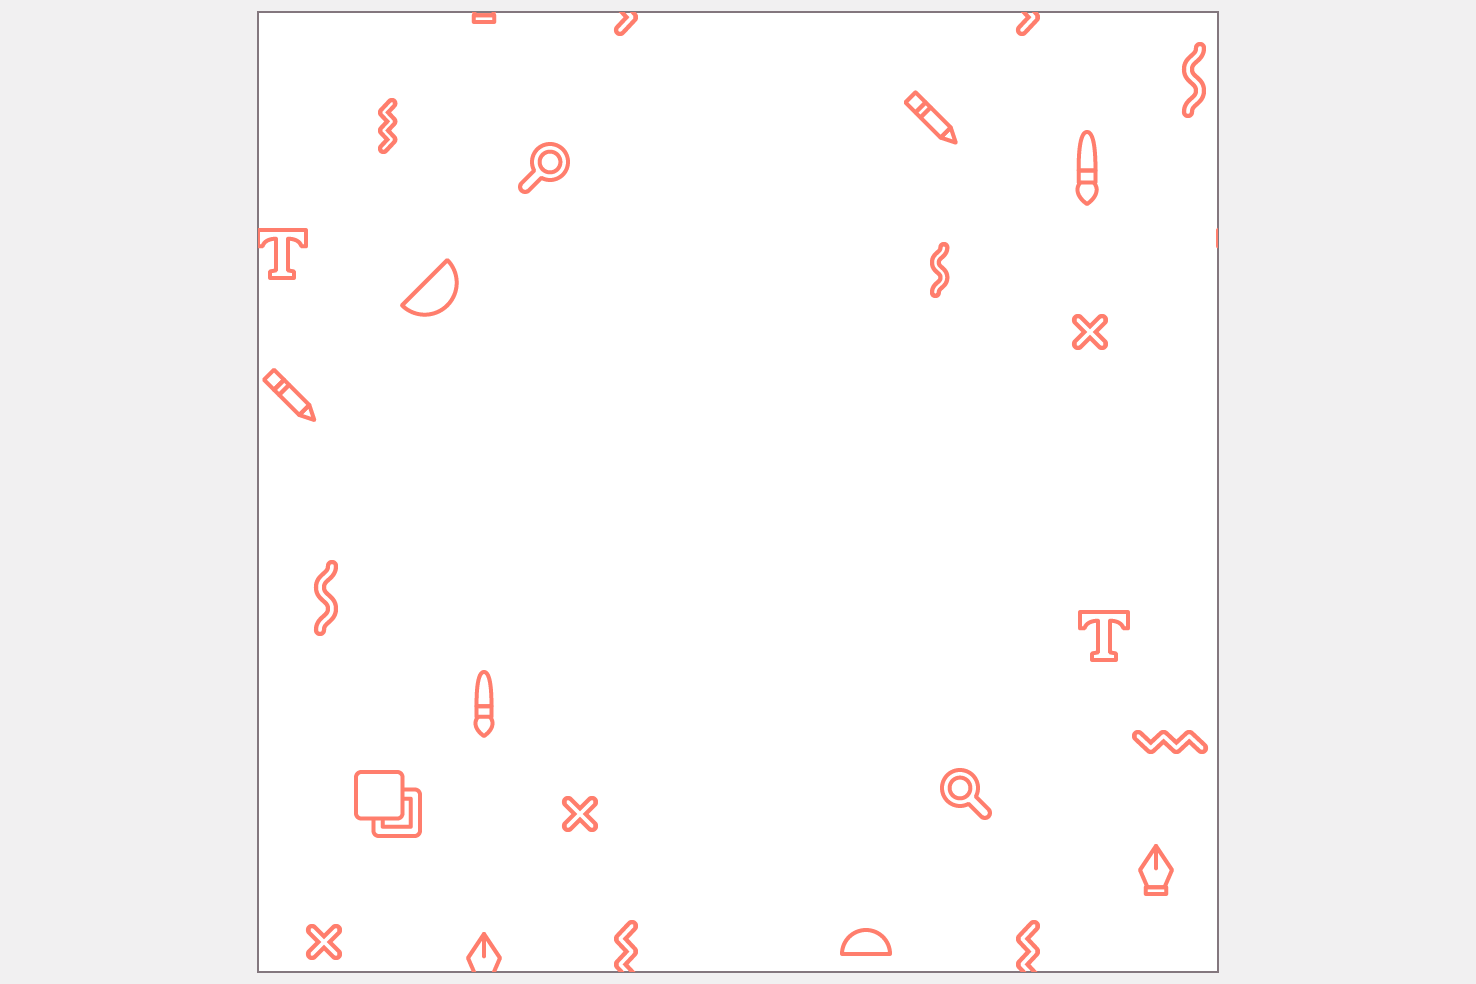
Place centrally working your way outwards
The shape should kind of form a diamond. The reason for this will become clearer in the coming steps, but you’ll be adding objects manually to the centre.
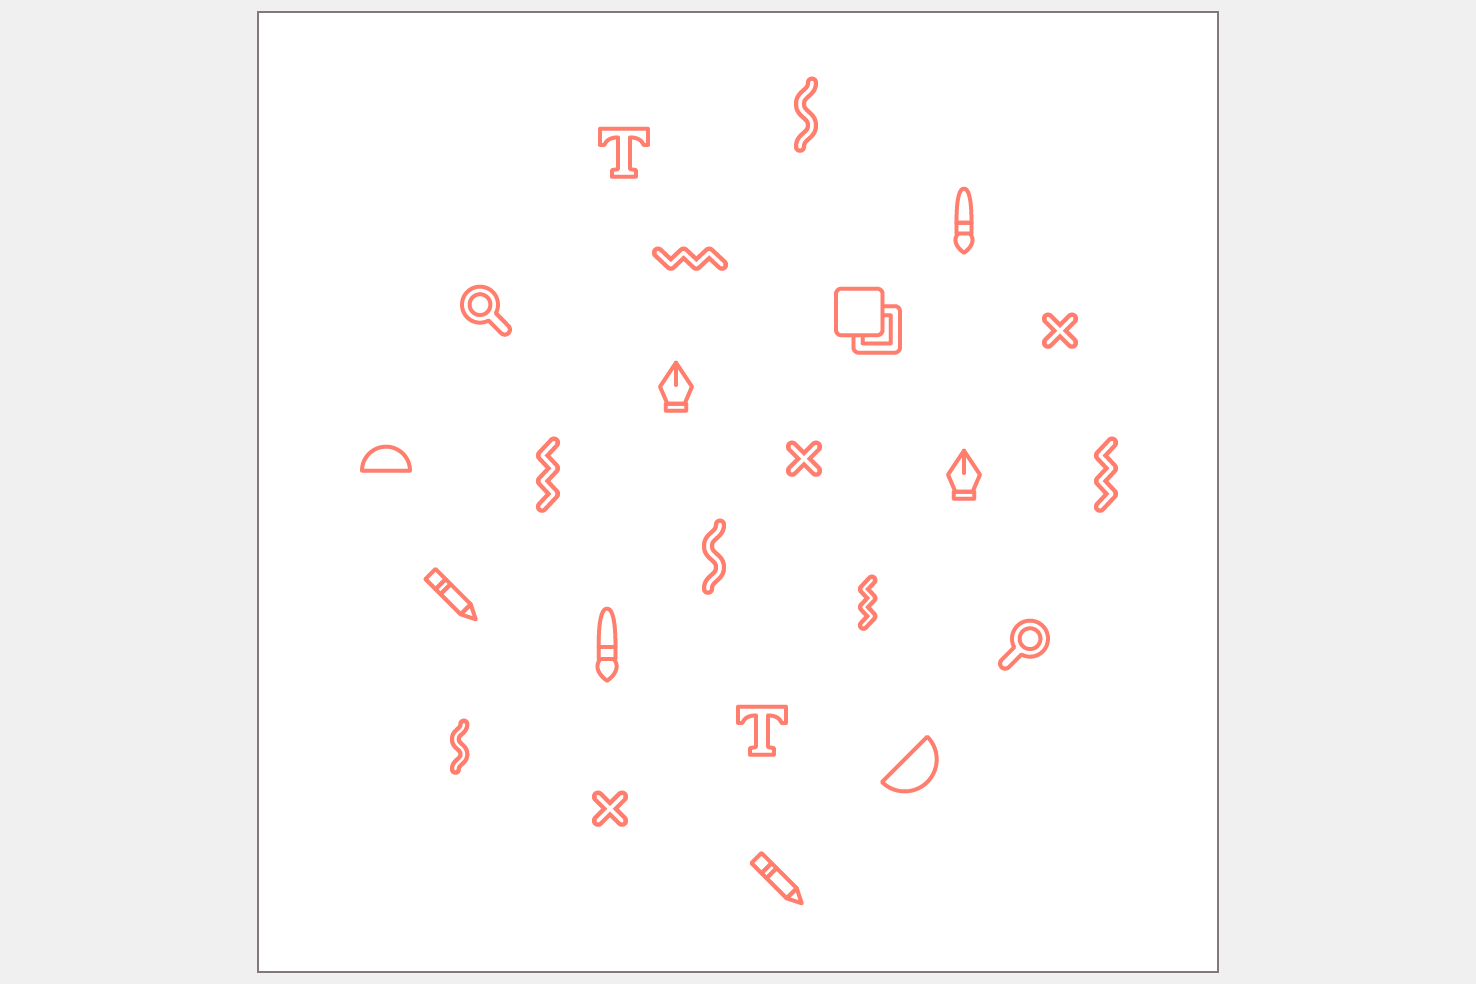
You want a pattern to feel completely random, yet consistent at the same time. You create randomness through the objects used and consistency through spacing.
Placing objects
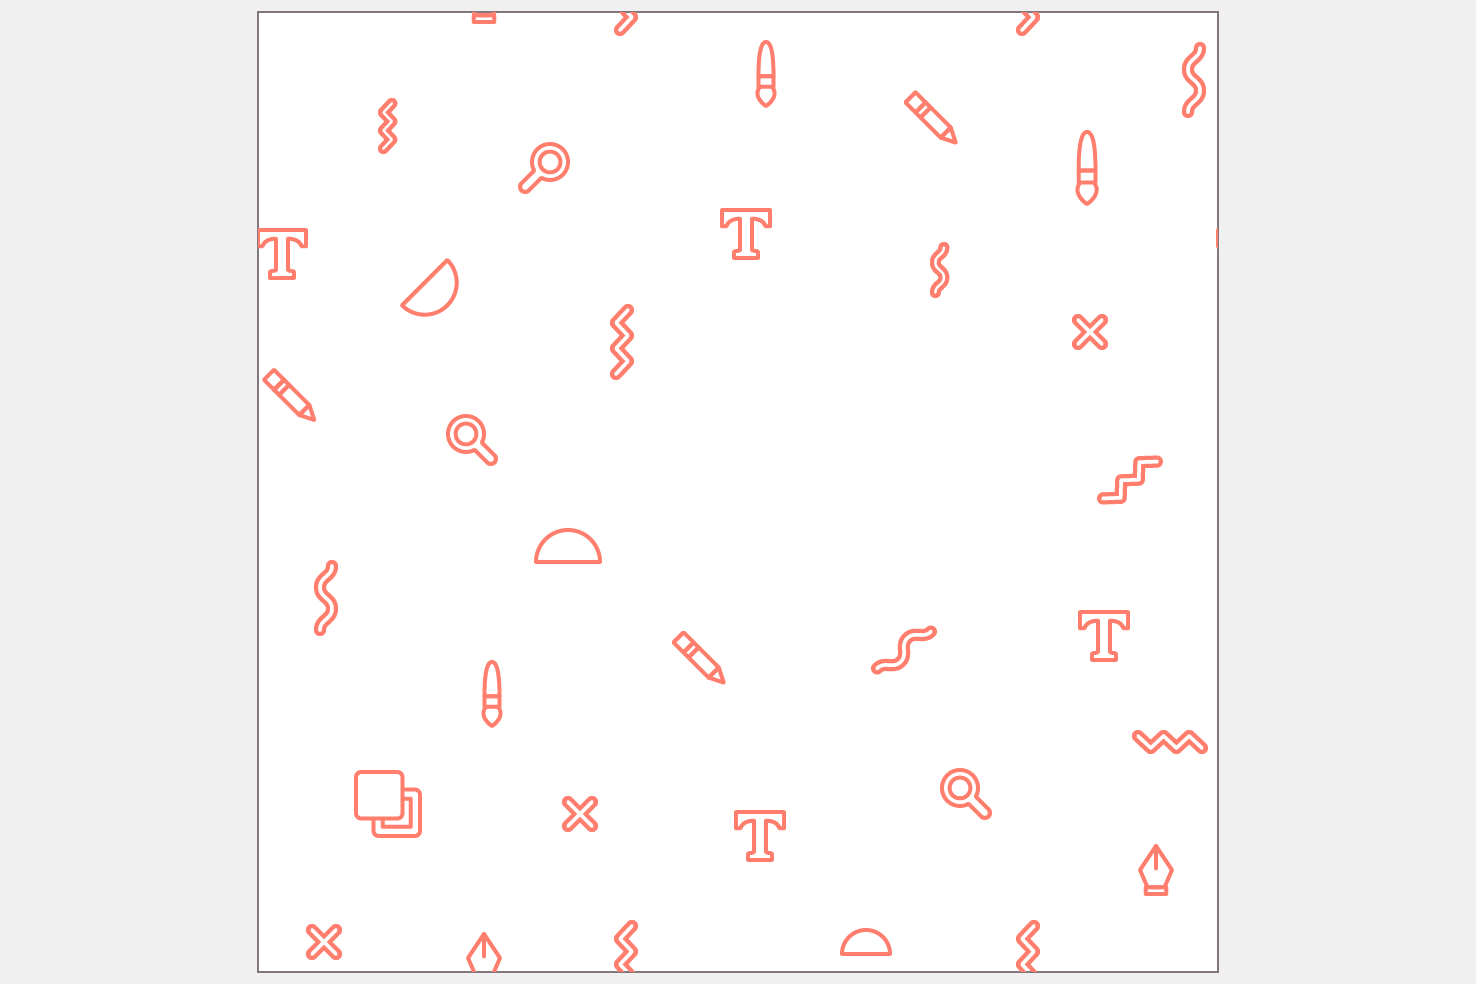
Resize, rotation and colour can all add to how random the pattern feels.
Density
If you pack the objects together it’s going to appear busier. So if you’re to overlay text on it, you may struggle unless the application is subtle.
If you space your objects out much more you’ll have freedom to overlay text easier. It will allow you to make it more striking as a result. As text will be less likely to blend in.
It’s all a balance, which is something to consider with your design.
Repetition
The repetition of the pattern can be difficult to make appear random. This is due to the amount of objects you may have, but don’t be afraid to place two similar, close to each other. It won’t be as obvious as you think.
This is where applying a different transform can really help.
Transform each
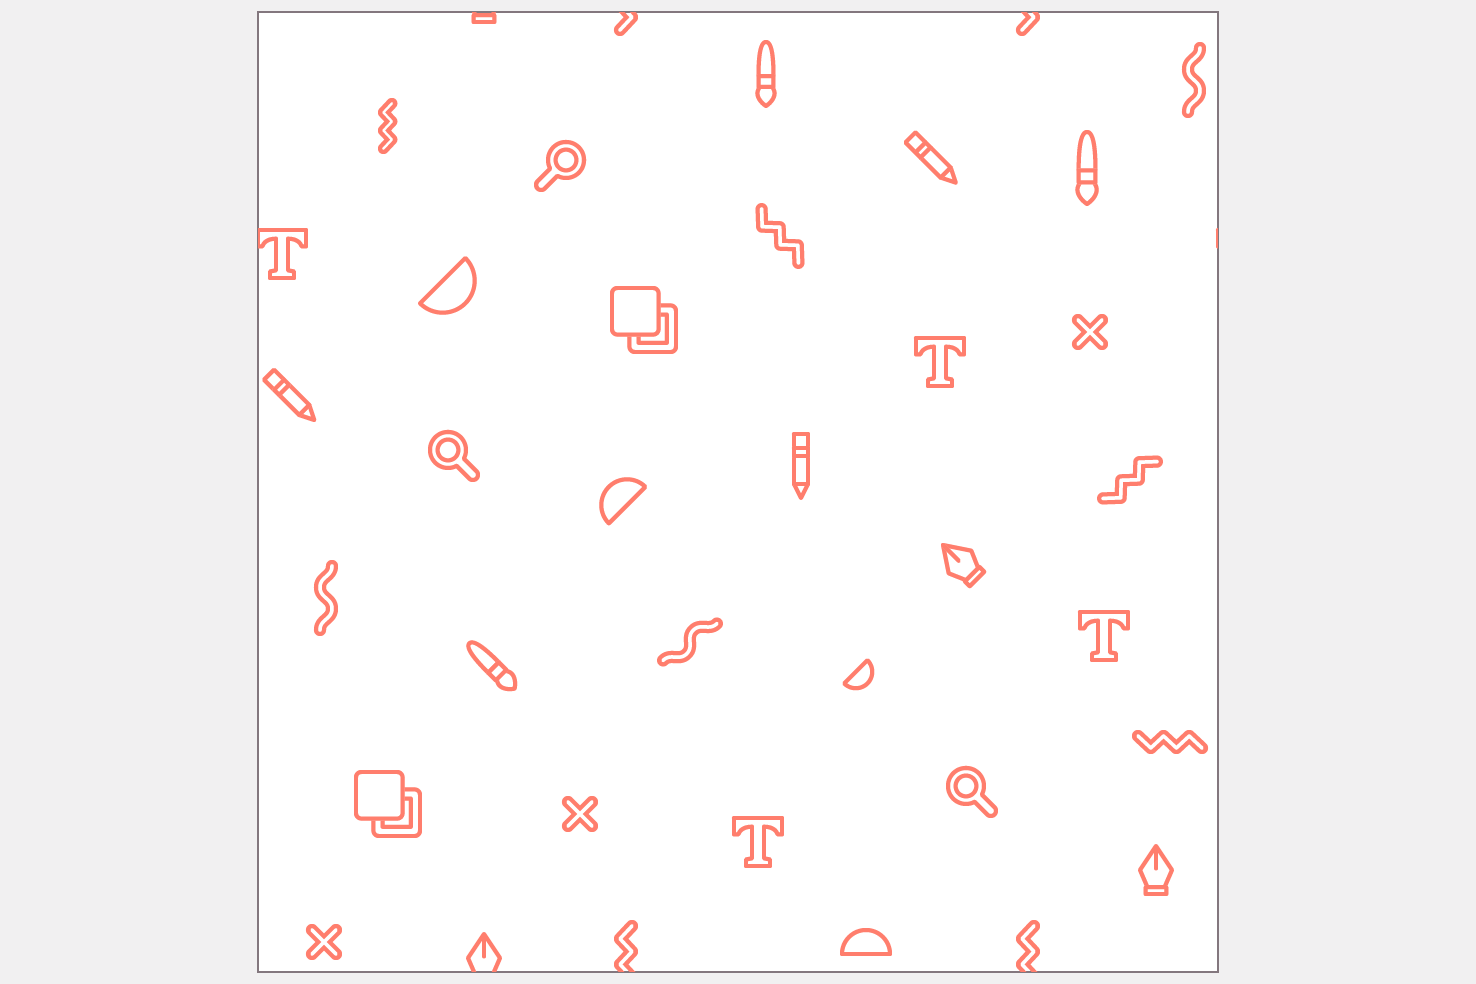
If this fits your pattern and look you’re going for transform each is great. To use transform each, select your objects and go to Object > Transform > Transform Each.
You can randomly change most things in this window. Make sure you check random, and tweak the values a few times as each time is different. You should be able to refine it to suit the pattern best.
As the image shows it works well to add more randomness to your pattern.
Rotate, scale, reflect, etc.
Transform each is great, it does the majority of the work quickly. There are instances where it may not be favourable or you need to keep things precise.
This is where the regular transform controls come in. An example may simply be to flip a search icon using reflect. All these options can be found under Object > Transform.
Preparing the pattern
The next steps will finalise the pattern and make it be repeatable.
Make sure the dimensions are whole numbers
This step will generally make your life easier later. As you can see in the image above the dimensions are 376.001px x 411.314px. It would be nicer if this pattern was 376px by 412px, whole even numbers.
Find the item that’s positioned on a half pixel
This is a quick method I like to use to make a selection of objects a collectively have a whole pixel value.
Look at the width and height of all of them and look for a value, in this instance, around the .314px off. If you find that value nudge it to the next pixel value up or down. Then repeat the process to find any others.
Change the transform origin and make it a whole pixel
If I want to nudge an item to the right, I need to make sure the transform origin is also the right.
In the transform panel you can see 9 squares in a grid like appearance. Where you click depends on where you want to move the object. If you wanted the object to be off the half pixel at the bottom, you would change the transform origin to the bottom.
You should then select all your objects again and check if you have whole pixel values.
Break it up into quarters
This is the most important step as this sets you up in the right way so the pattern will repeat.
Duplicate 3 times
- Select all your placed objects
- Group with cmd + g
- Paste in place with cmd + f 3 times (so there are 4 in total)
Mask in quarters
Take the dimensions of all your objects and divide that by two. In the case of this post, it’s 380x412, which makes 190x206.
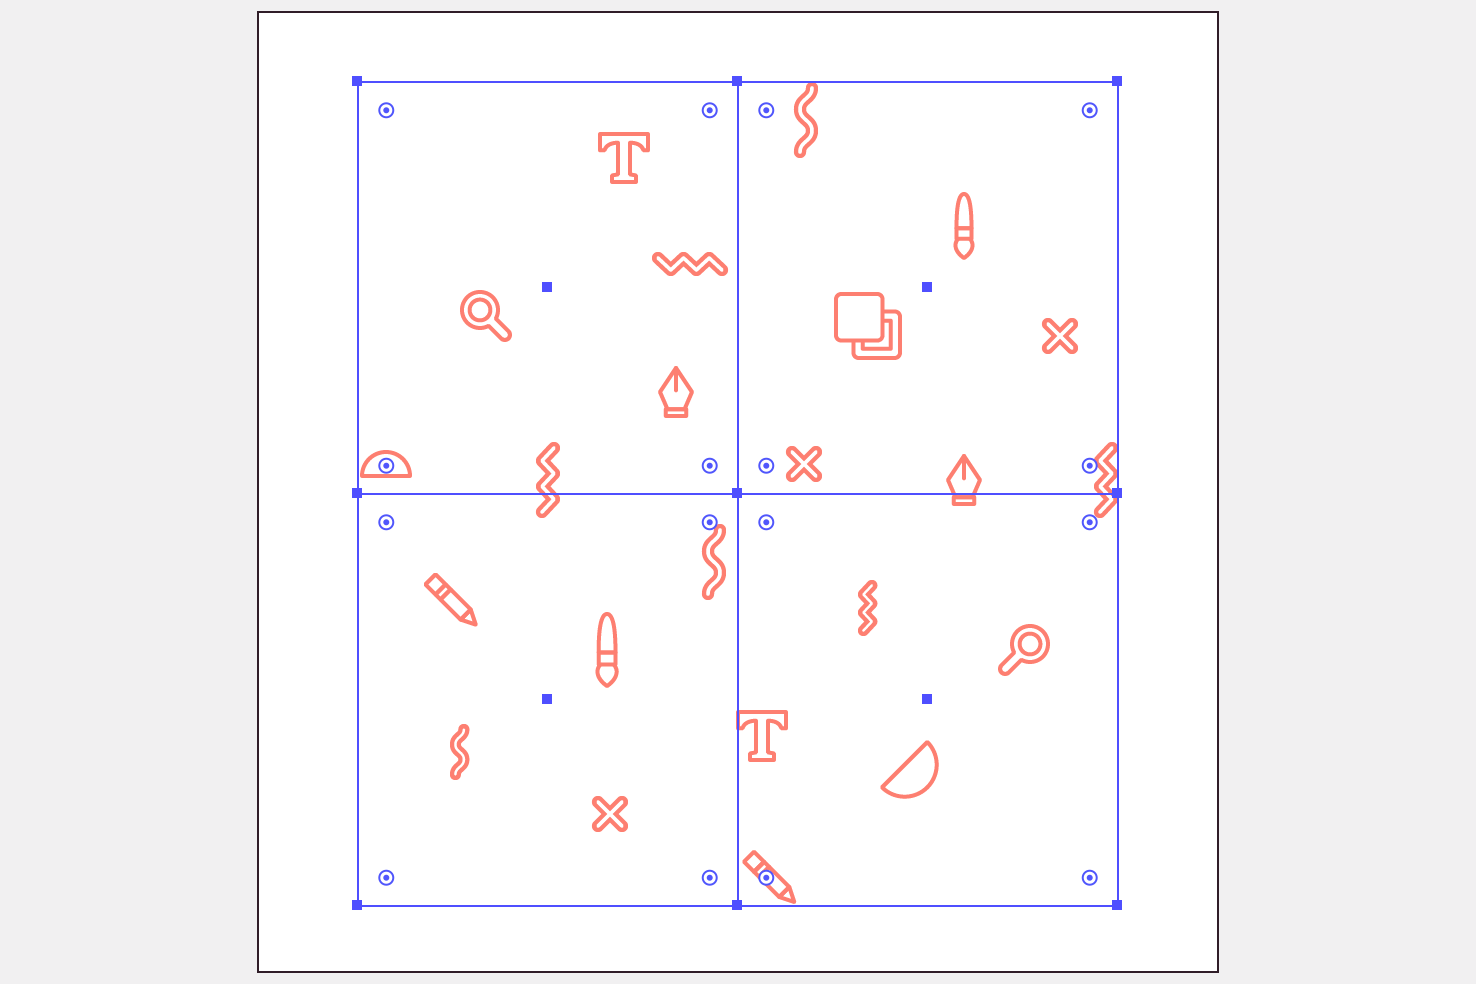
- Draw a rectangle which is those dimensions (in my case 190x206)
- Select both the rectangle and the top pattern layer
- Click the pattern layer the selected area should change (aligning to key object)
- In the align panel (in the menu Window > Align)
- Align to the top left
- Press cmd + 7 to create a layer mask
Repeat this process 3 more times, except going to each corner of the pattern.
Move each masked quarter to the diagonally opposite corner
This is what makes the pattern repeatable, as at each of the corners it will join.
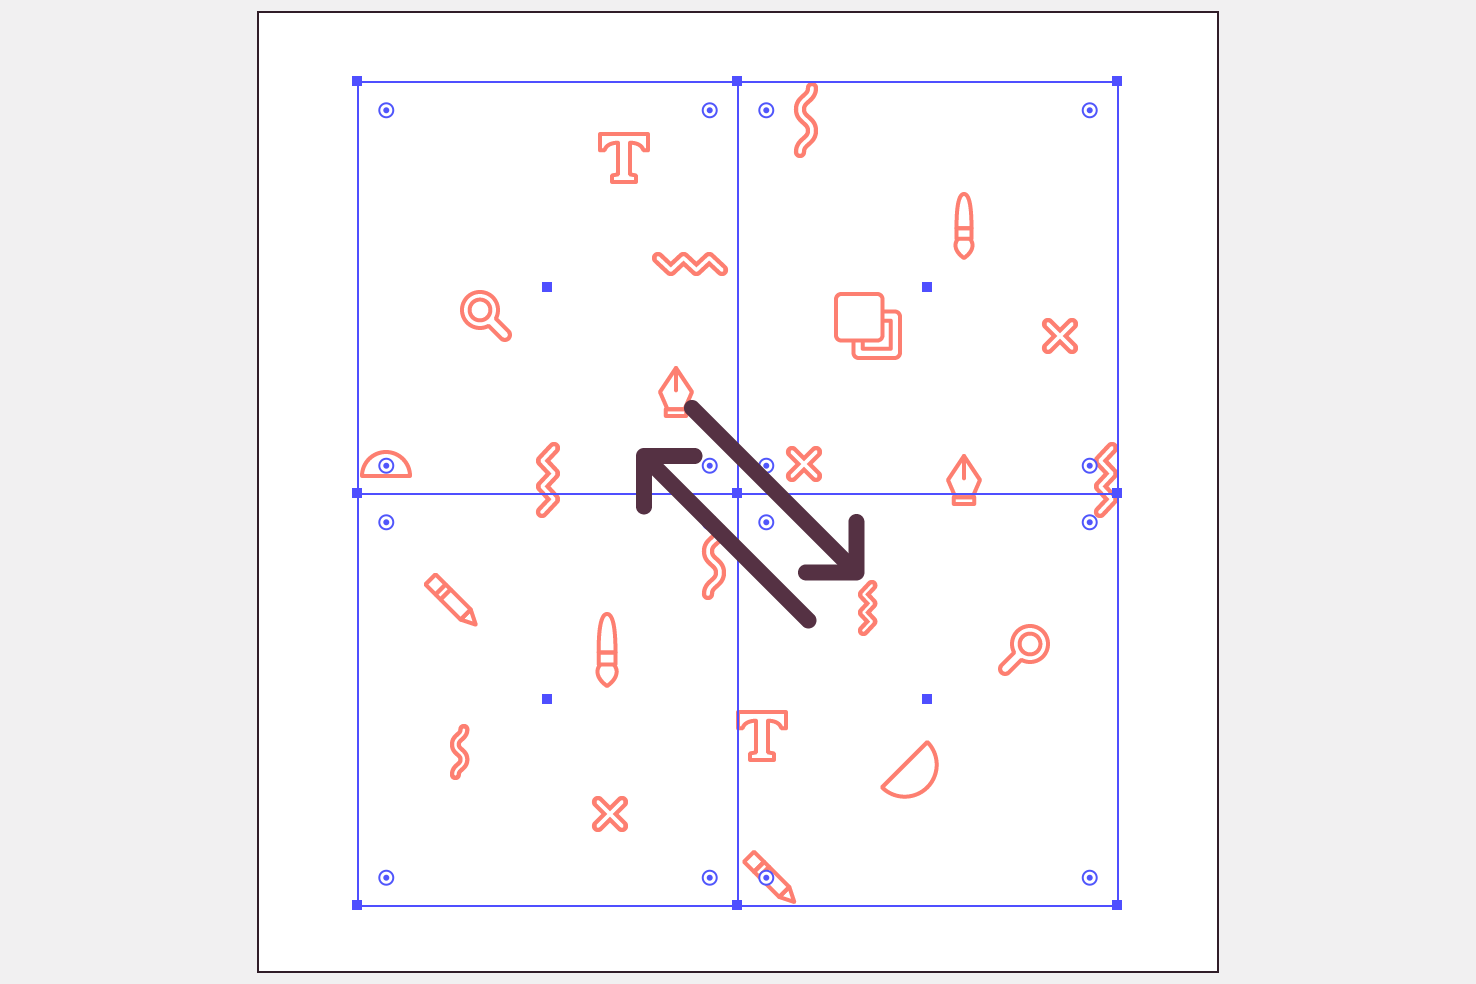
To do this quickly and accurately use the align panel and make sure you’re aligning to the artboard.
Once you have them aligned correctly, select them and press cmd + 2 to lock them. This will ensure you don’t move them later.
Fill in the remaining area
There will be space in the centre, which you can fill in with the elements you used earlier. You don’t have to be too mindful of repetition here, it’s the consistency of spacing.
Start filling in round the edges working your way in. Once you’ve done this you can make further tweaks.
Finalising the pattern
The final steps will now make the pattern usable. You’ll need to expand and trim the objects that are masked, make it into a swatch and any final adjustments.
Expand and trim the excess
It’s the frustrating thing about masks in Illustrator, when you create a swatch it accounts for the excess masked with empty space.
- Expand appearance by going to
Object > Expand Appearance - Expand the stroke and fill by going to
Object > Expand - Open the pathfinder panel
Window > Pathfinder - Under the ‘Pathfinders’ heading click ’Trim’
You should notice a difference when selected.
Add a background layer
Draw a new rectangle with m and set it to be the size of the artboard. It can be transparent or have any fill of your choice.
Group together everything with cmd + g. Adding this layer helps keep the pattern correctly aligned.
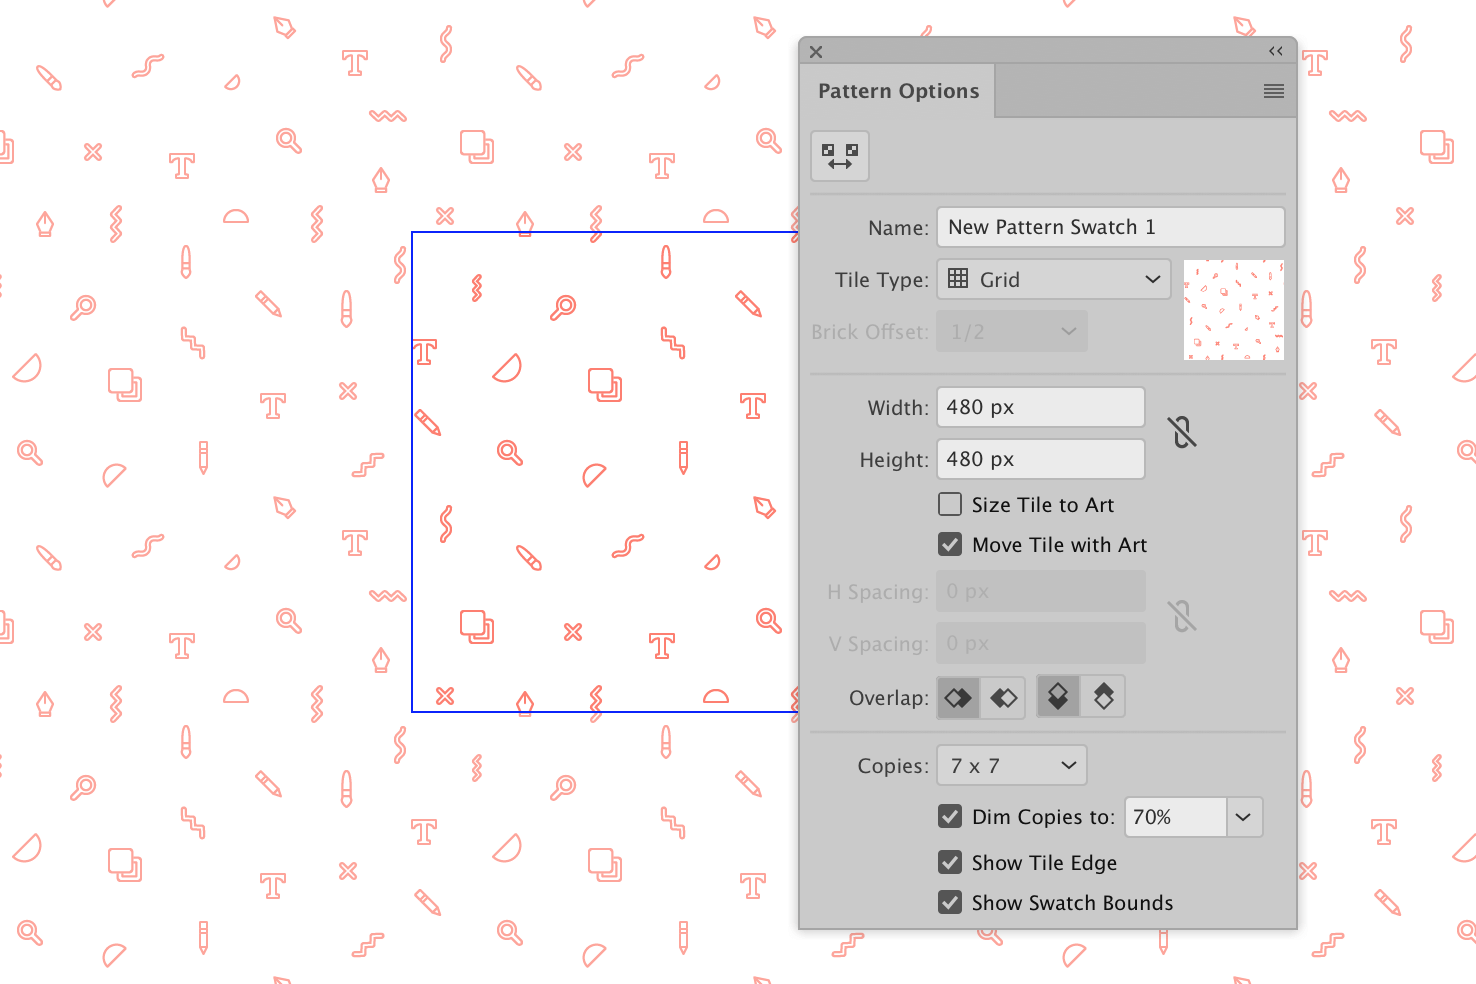
Make it into a swatch
Open the swatches panel Window > Swatches and drag your pattern to the swatches panel. It should appear as a usable swatch.
Testing and identifying adjustments
Now you’ve made the pattern into a swatch, you need to make sure it repeats nicely. Draw a large rectangle (at least 3 or 4 times larger than the pattern itself) with m.
Next, fill it with your pattern in the swatches panel. You’re now looking for mostly spacing issues that are apparent. It’s only at this stage you identify them.
Applying adjustments
You may have a few changes in mind, open the swatches panel and double click your pattern. You’re now in an isolated view to modify the pattern.
Once you’re happy with the changes you can exit it by clicking ‘Save a Copy’ or ‘Done’ under the toolbar near the top. If you want to keep track of changes a copy may be beneficial.
That’s it
You should have a repeating pattern now. You can also duplicate the pattern swatch and modify the colour in the same way.
You can apply the technique to most patterns. The complexity depends on the type of pattern you want to make.
View on Github