My SVG workflow, from awkward to simple
Initially I thought it would be quite frustrating to get going with SVG, but after jumping in and seeing where I got it’s quite simple.
230 views


Initially I thought it would be quite frustrating to get going with SVG, but after jumping in and seeing where I got it’s quite simple. Much better than exporting 1x and 2x images by far.
How to get started
You’re probably at one of these stages:
- I have an SVG how do I use it?
- I have my paths in illustrator what next?
- I have my paths in photoshop how do I make them into an SVG?
Photoshop paths - the awkward
The most difficult stage to be at is the paths are created in photoshop. It’s fine but if you have any layer styles related to those paths, it’s probably not going to be easy to make them into an SVG and you’ll have to redo them in Illustrator.
It’s not too much trouble though thankfully if you have a solid shape you have made, that would be difficult to recreate in CSS.
Steps
- Select your path in photoshop
- Go to file > export > paths to illustrator…
- You should see your shape name in the paths dropdown
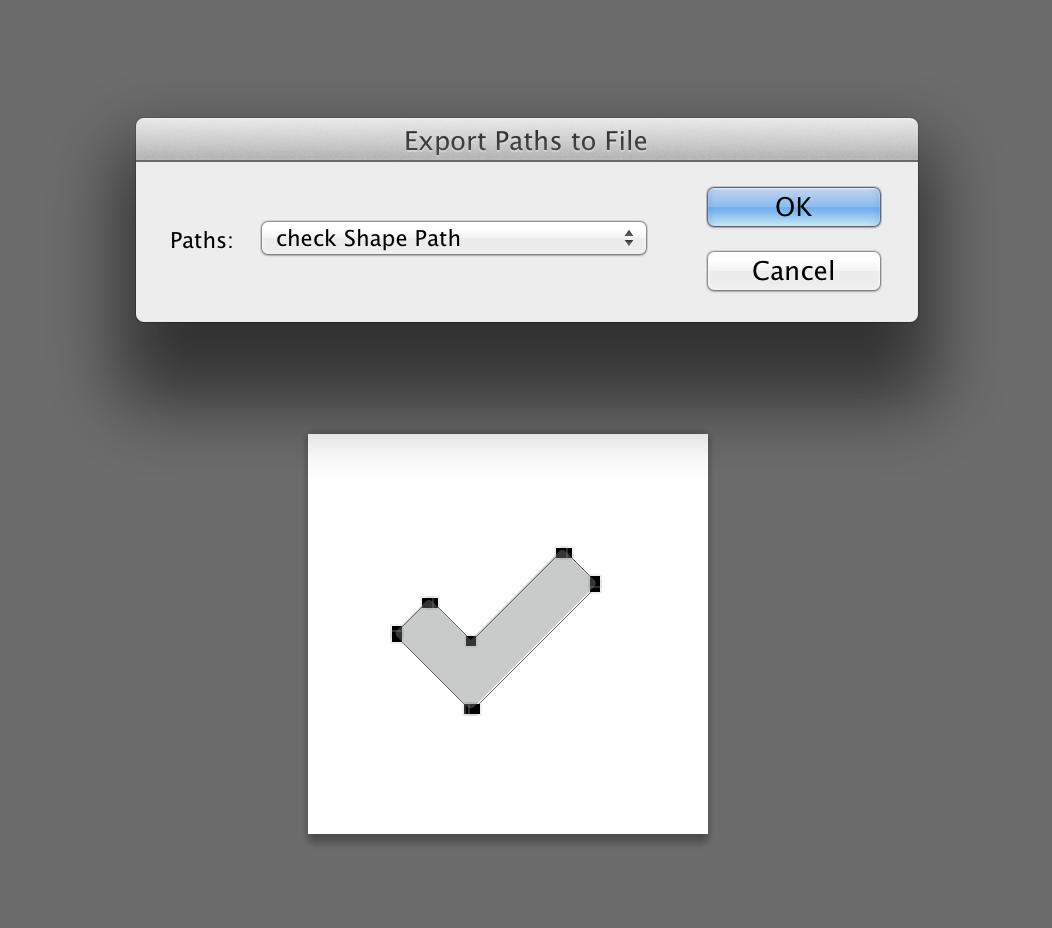
- Click ok and save
- Open your path with illustrator
- Find it and fill it with your colour of choice
Paths in illustrator
Alright, so you have your paths in illustrator, either from following the above steps, or you were in illustrator from the start. Here’s what’s next:
Steps
- Click the artboard tool or press
shift + o - Hover over your shape and click the path and it should end up like this
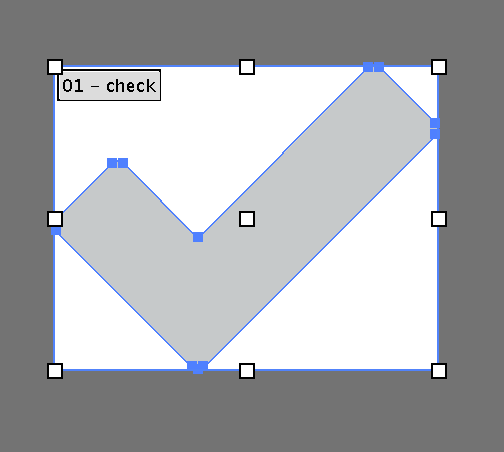
- Go to file and save, name your file, choose svg as the format and check ‘Use Artboards’ like this
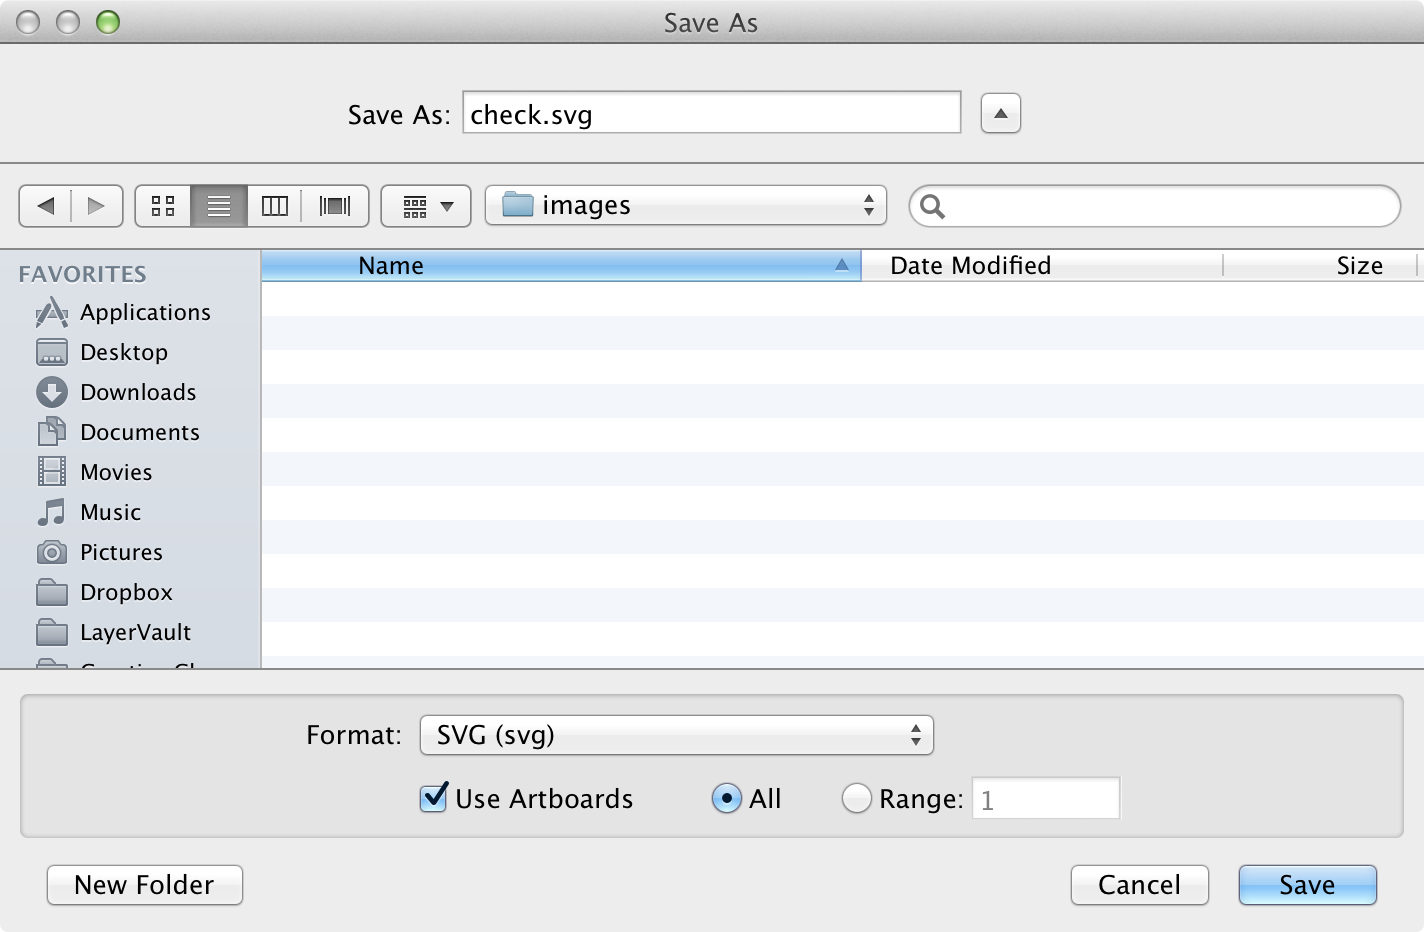
- Save, generally the options are ok from here, but if you wish to change anything be careful.
I have my SVG how do I use it
The final step to getting your SVG on the web. What you need to do is go to grumpicon. Drop your SVG in your browser window. It will generate you a bunch of nice files and you’re ready to use it on the web.
It’s entirely up to you what you do from here. I favour using the data images and using modernizr as a fallback. In the pen below is how I would set it up with Sass. I add a couple of variables and a placeholder selector and we’re good to go.
Replacing the colour for an actual variable
For easy changing look for a part like path%20fill%3D%22%23. You should have a 6 character hex code without the # following that. Replace that with your variable wrapped in #{}. Now you can change your icon to suit any site 0 hassle!
Try it out here
See the Pen Using svg for icons by Steve (@stevemckinney) on CodePen
Finishing
If you skip out the photoshop the rest is quite simple. The best part is that icon will be easy to reuse with a simple Sass variable change. Unfortunately the png data image would have to be regenerated each time, this depends how crucial this is to your design for browsers that don’t support SVG as you may feel it’s fine as the initial colour.
View on Github